Lighting•October 8, 2025
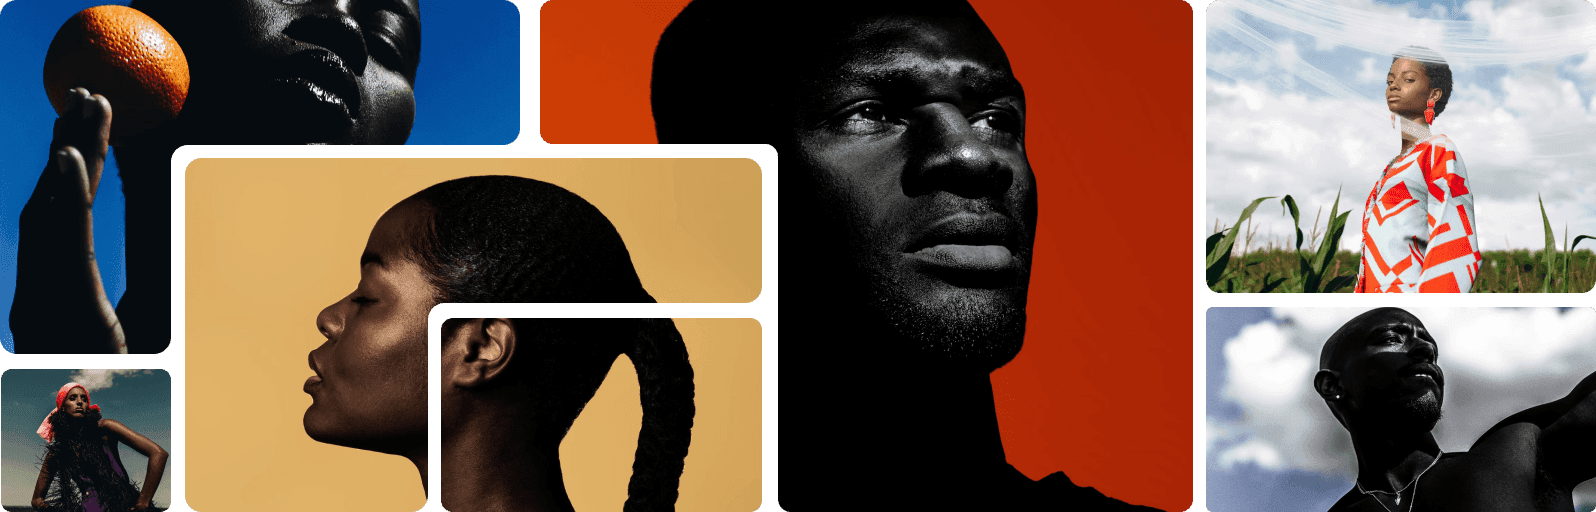
Creative Portrait Lighting Techniques I Use in Every Session
Discover the lighting setups and techniques that help me create compelling and unique portrait photography.
Lighting is the foundation of portrait photography. It shapes faces, creates mood, and transforms ordinary images into extraordinary ones.
## My Go-To Lighting Setups
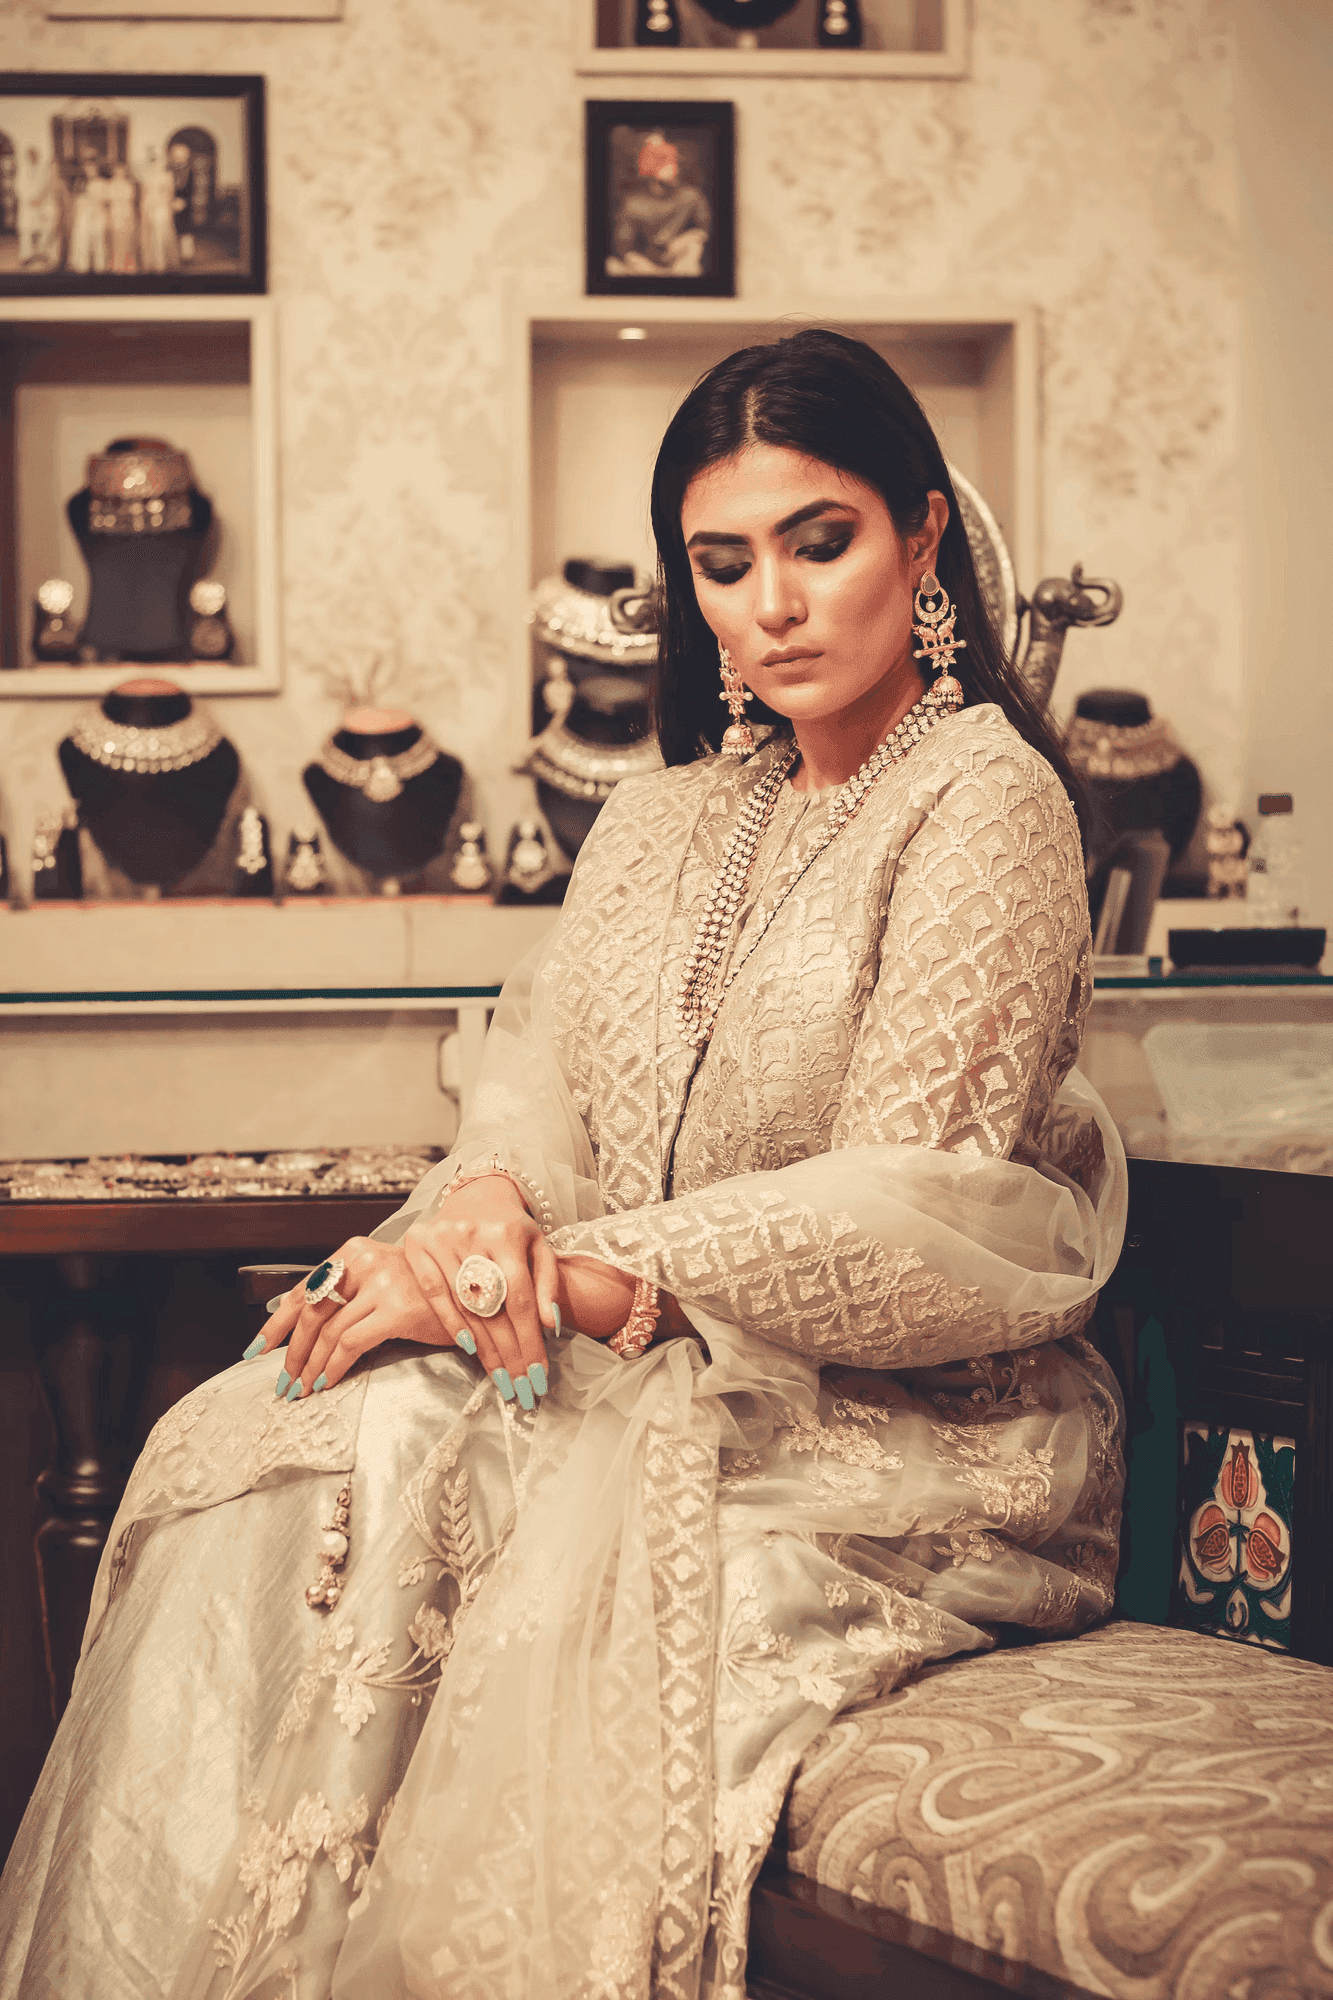
### 1. Rembrandt Lighting
This classic setup creates a small triangle of light on the shadowed cheek. It's dramatic yet flattering, perfect for adding depth and character to portraits.
**Setup**: Position your key light at 45 degrees to the side and slightly above the subject's face.
### 2. Split Lighting
For a bold, dramatic look, I use split lighting where exactly half the face is lit and half is in shadow.
**Setup**: Place your light source 90 degrees to the side of your subject.
### 3. Butterfly Lighting
This glamorous lighting style creates a small butterfly-shaped shadow under the nose.
**Setup**: Position the light source directly in front and above the subject's face.
## Natural Light Techniques
You don't always need expensive equipment. Natural light can be incredibly powerful:
- **Golden hour**: Shoot during sunrise/sunset for warm, flattering light
- **Window light**: Use a north-facing window as a soft, diffused light source
- **Reflectors**: Bounce natural light to fill shadows and add dimension
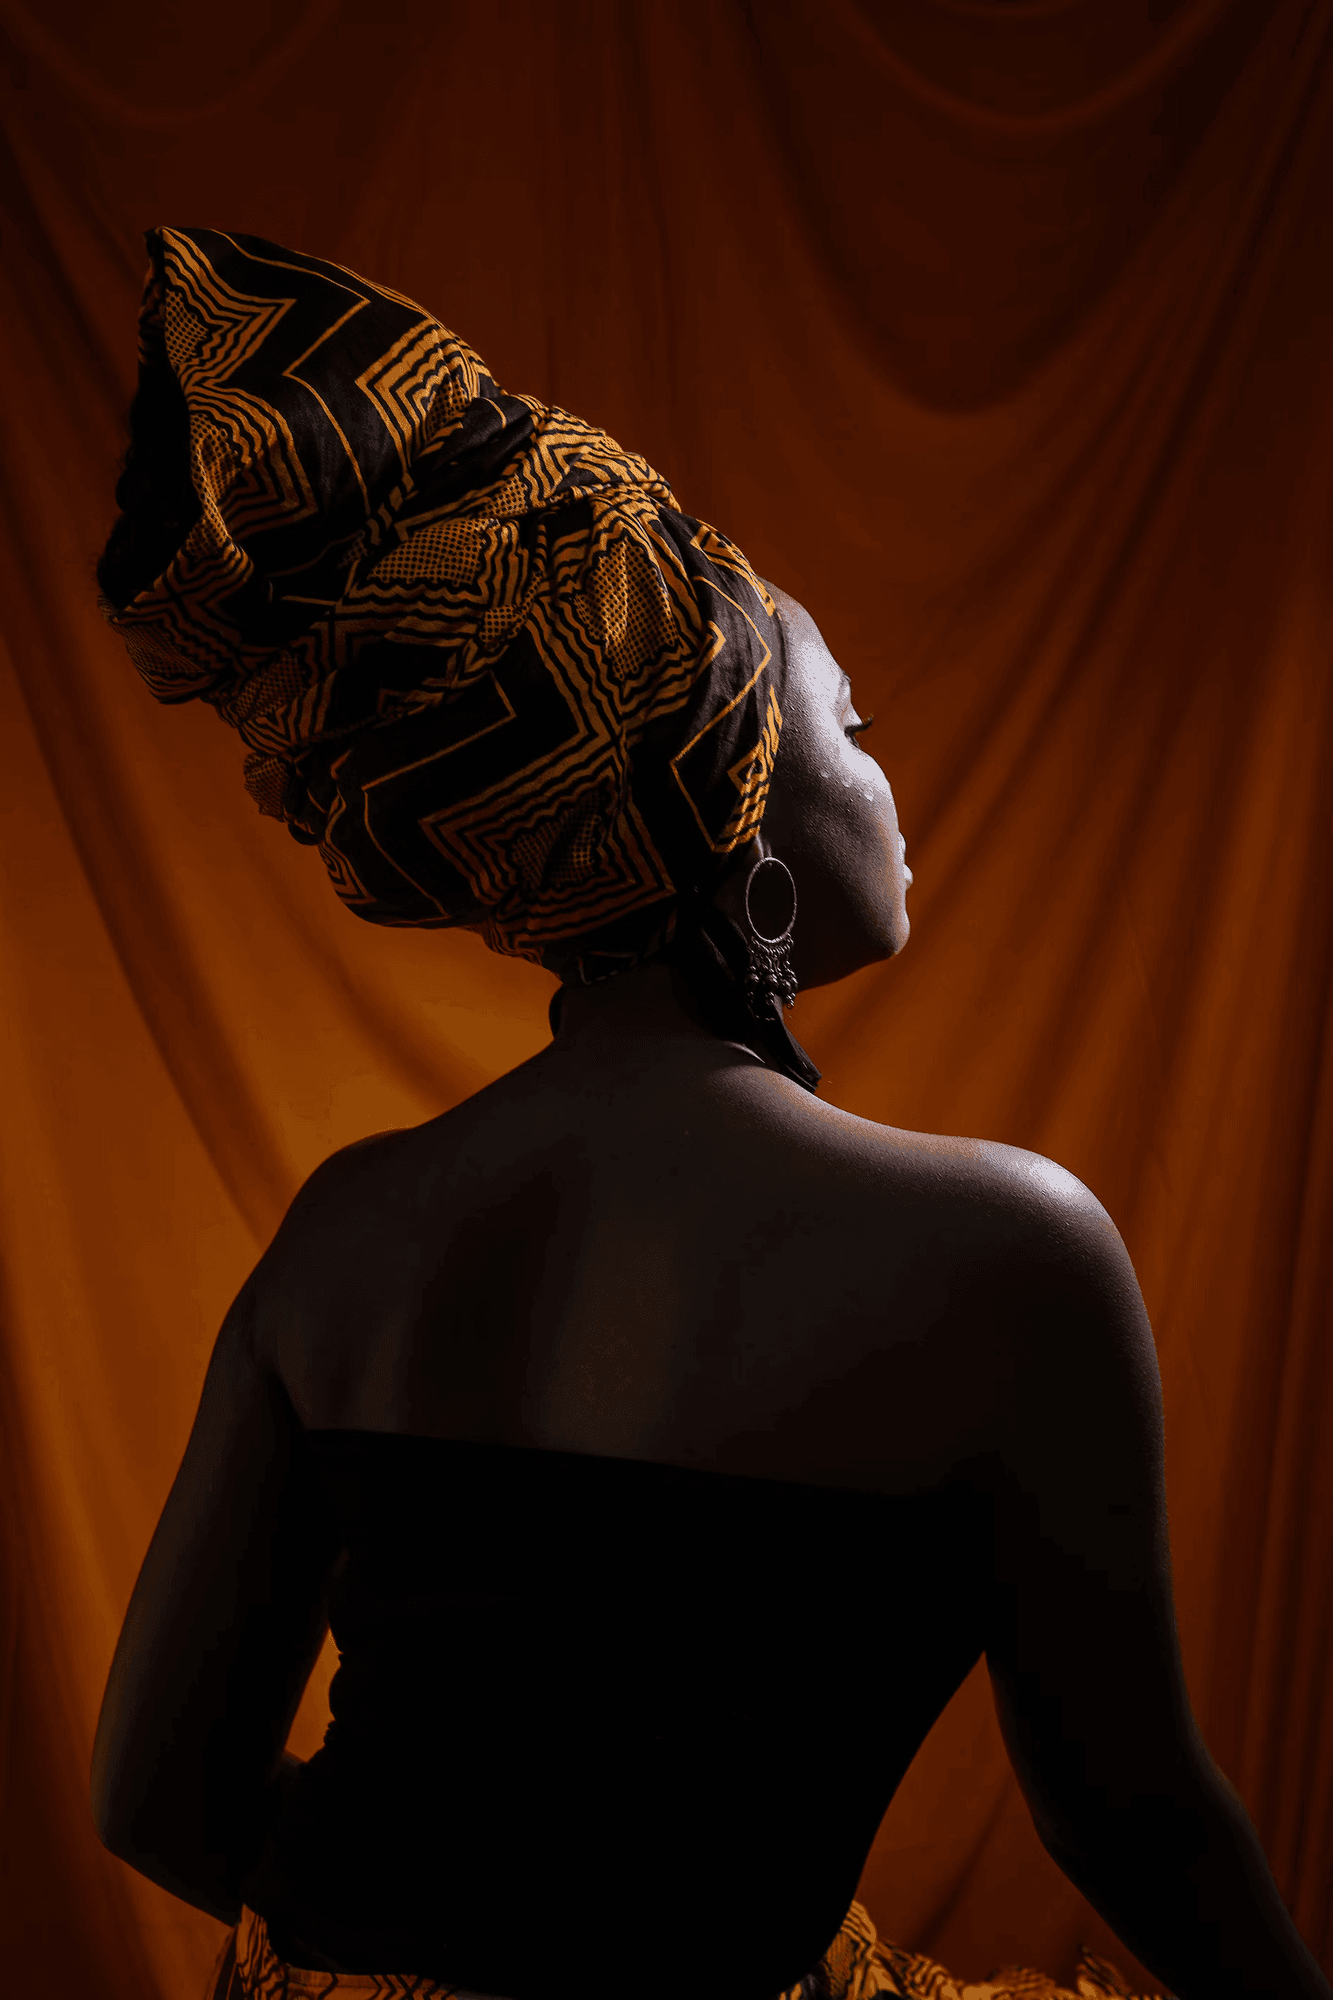
## Adding Creative Elements
To make portraits stand out, I often incorporate:
- Colored gels on background lights
- Backlighting for rim light effects
- Practical lights in the scene (lamps, candles, LED strips)
- Textured shadows using gobos or natural elements
## The Most Important Element
Technical knowledge is important, but remember: the connection between photographer and subject creates the best portraits. Make your subject comfortable, communicate clearly, and let their personality shine through.